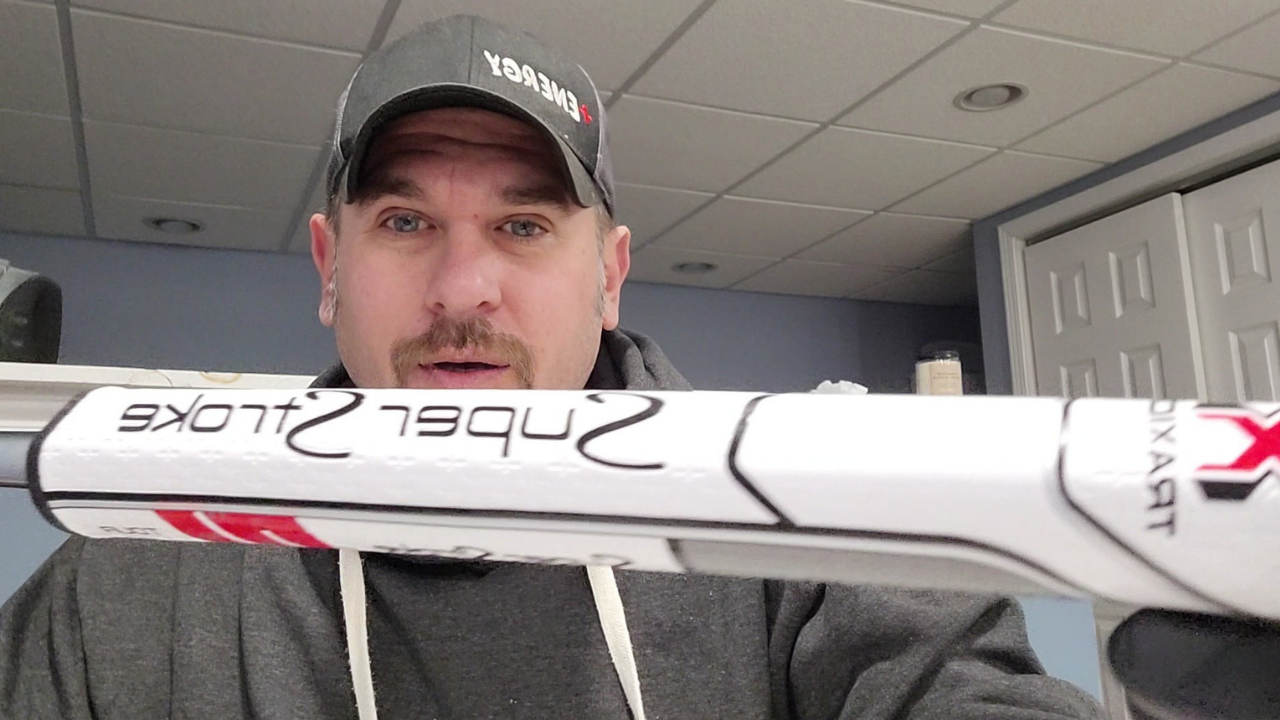
SuperStroke Traxion Tour 3.0 Putter Grip
SuperStroke putter grips are taking the PGA by storm. I am sure you have noticed the fat putter grips many PGA Professionals are using now a days on their putters and if you are anything like me you are thinking to yourself what is the deal with the fat putter grips.
The short answer, other that they look awesome is the bigger diameter in your grip the more difficult it is to break your wrists during your putting stroke.
I can honestly say the putter grip looks amazing and feels really nice and comfortable in my hand. Now it did take a few putts to get use to the bigger grip, however, after a few putts I am really enjoying the feel of the bigger diameter grip.
Now the next big question, how hard is it to install on of these putter grips on my putter and is this something I can do my myself?
Ask no further as in this video I will show you step-by-step how easy it is to remove your old putter grip and install your new SuperStroke putter grip without using a vise in the comfort of your home.
Step-by-Step How to Install SuperStroke Putter Grip
- Purchase your new SuperStroke Putter Grip – Check Prices on Amazon Here
- Gather all needed supplies to install your SuperStroke Grip (Double Sided Tape, Grip Tape Solution, Hook Blades, Utility Knife, Mud Pan, Acetone, and a towel)
- Grab your putter
- Remove old grip by inserting hook blade and pulling away from you, peel back the grip. If you have any tension just reinsert the hook blade as you are peeling back the grip, it should come off pretty easily.
- Remove old double sided tape. Use utility knife with a regular blade to scrape off the tape, it should come off pretty easily. Wipe it down with the acetone to remove the old glue.
- Measure double sided tape to the length of your new putter grip and cut it
- Apply the double sided tape to your putter leaving a little over hang at the top of the putter shaft, tuck the tape into the hole at the top of the putter shaft.
- Wrap the tape around the putter shaft and remove the other side of the tape exposing the outer sticky part of the tape
- Pour your grip tape solution onto your new putter grip holding it over your mud pan while plugging the hole on the bottom of your grip with your finger.
- Once the grip is full with the solution pour it over the double sided tape, which you can just pour it or remove your finder from the hole in the bottom of your grip and let it flow out over the grip tape, either way will work fine. Either way hold it over your mud pan so you don’t make a mess and can save the tap solution as you can reuse it.
- Slide your new putter grip onto the shaft and over the double sided tape, it should slide on very easily.
- Once on, tap the end of the club on the floor a few times to make sure your golf grip is all the way on.
- Once on you will want to line up your grip with SuperStroke facing front and the gray line facing back (SuperStroke should face the hole and the gray strip should face away from the hole when holding your putter) Please note that you have plenty of time to line this up so there is no need to panic and rush through this. Test is out before setting it aside to dry.
- Wait 3-4 few hours (I usually wait 24 hours) to give it time to dry.
Installing your new SuperStroke putter grip at home without using a vise is no big deal and should only take a few minutes to complete. If you have any issues, comments, tips or tricks I would love to hear from you. I again appreciate you taking the time to stop by and I hope you found this post useful.

SuperStroke Grip
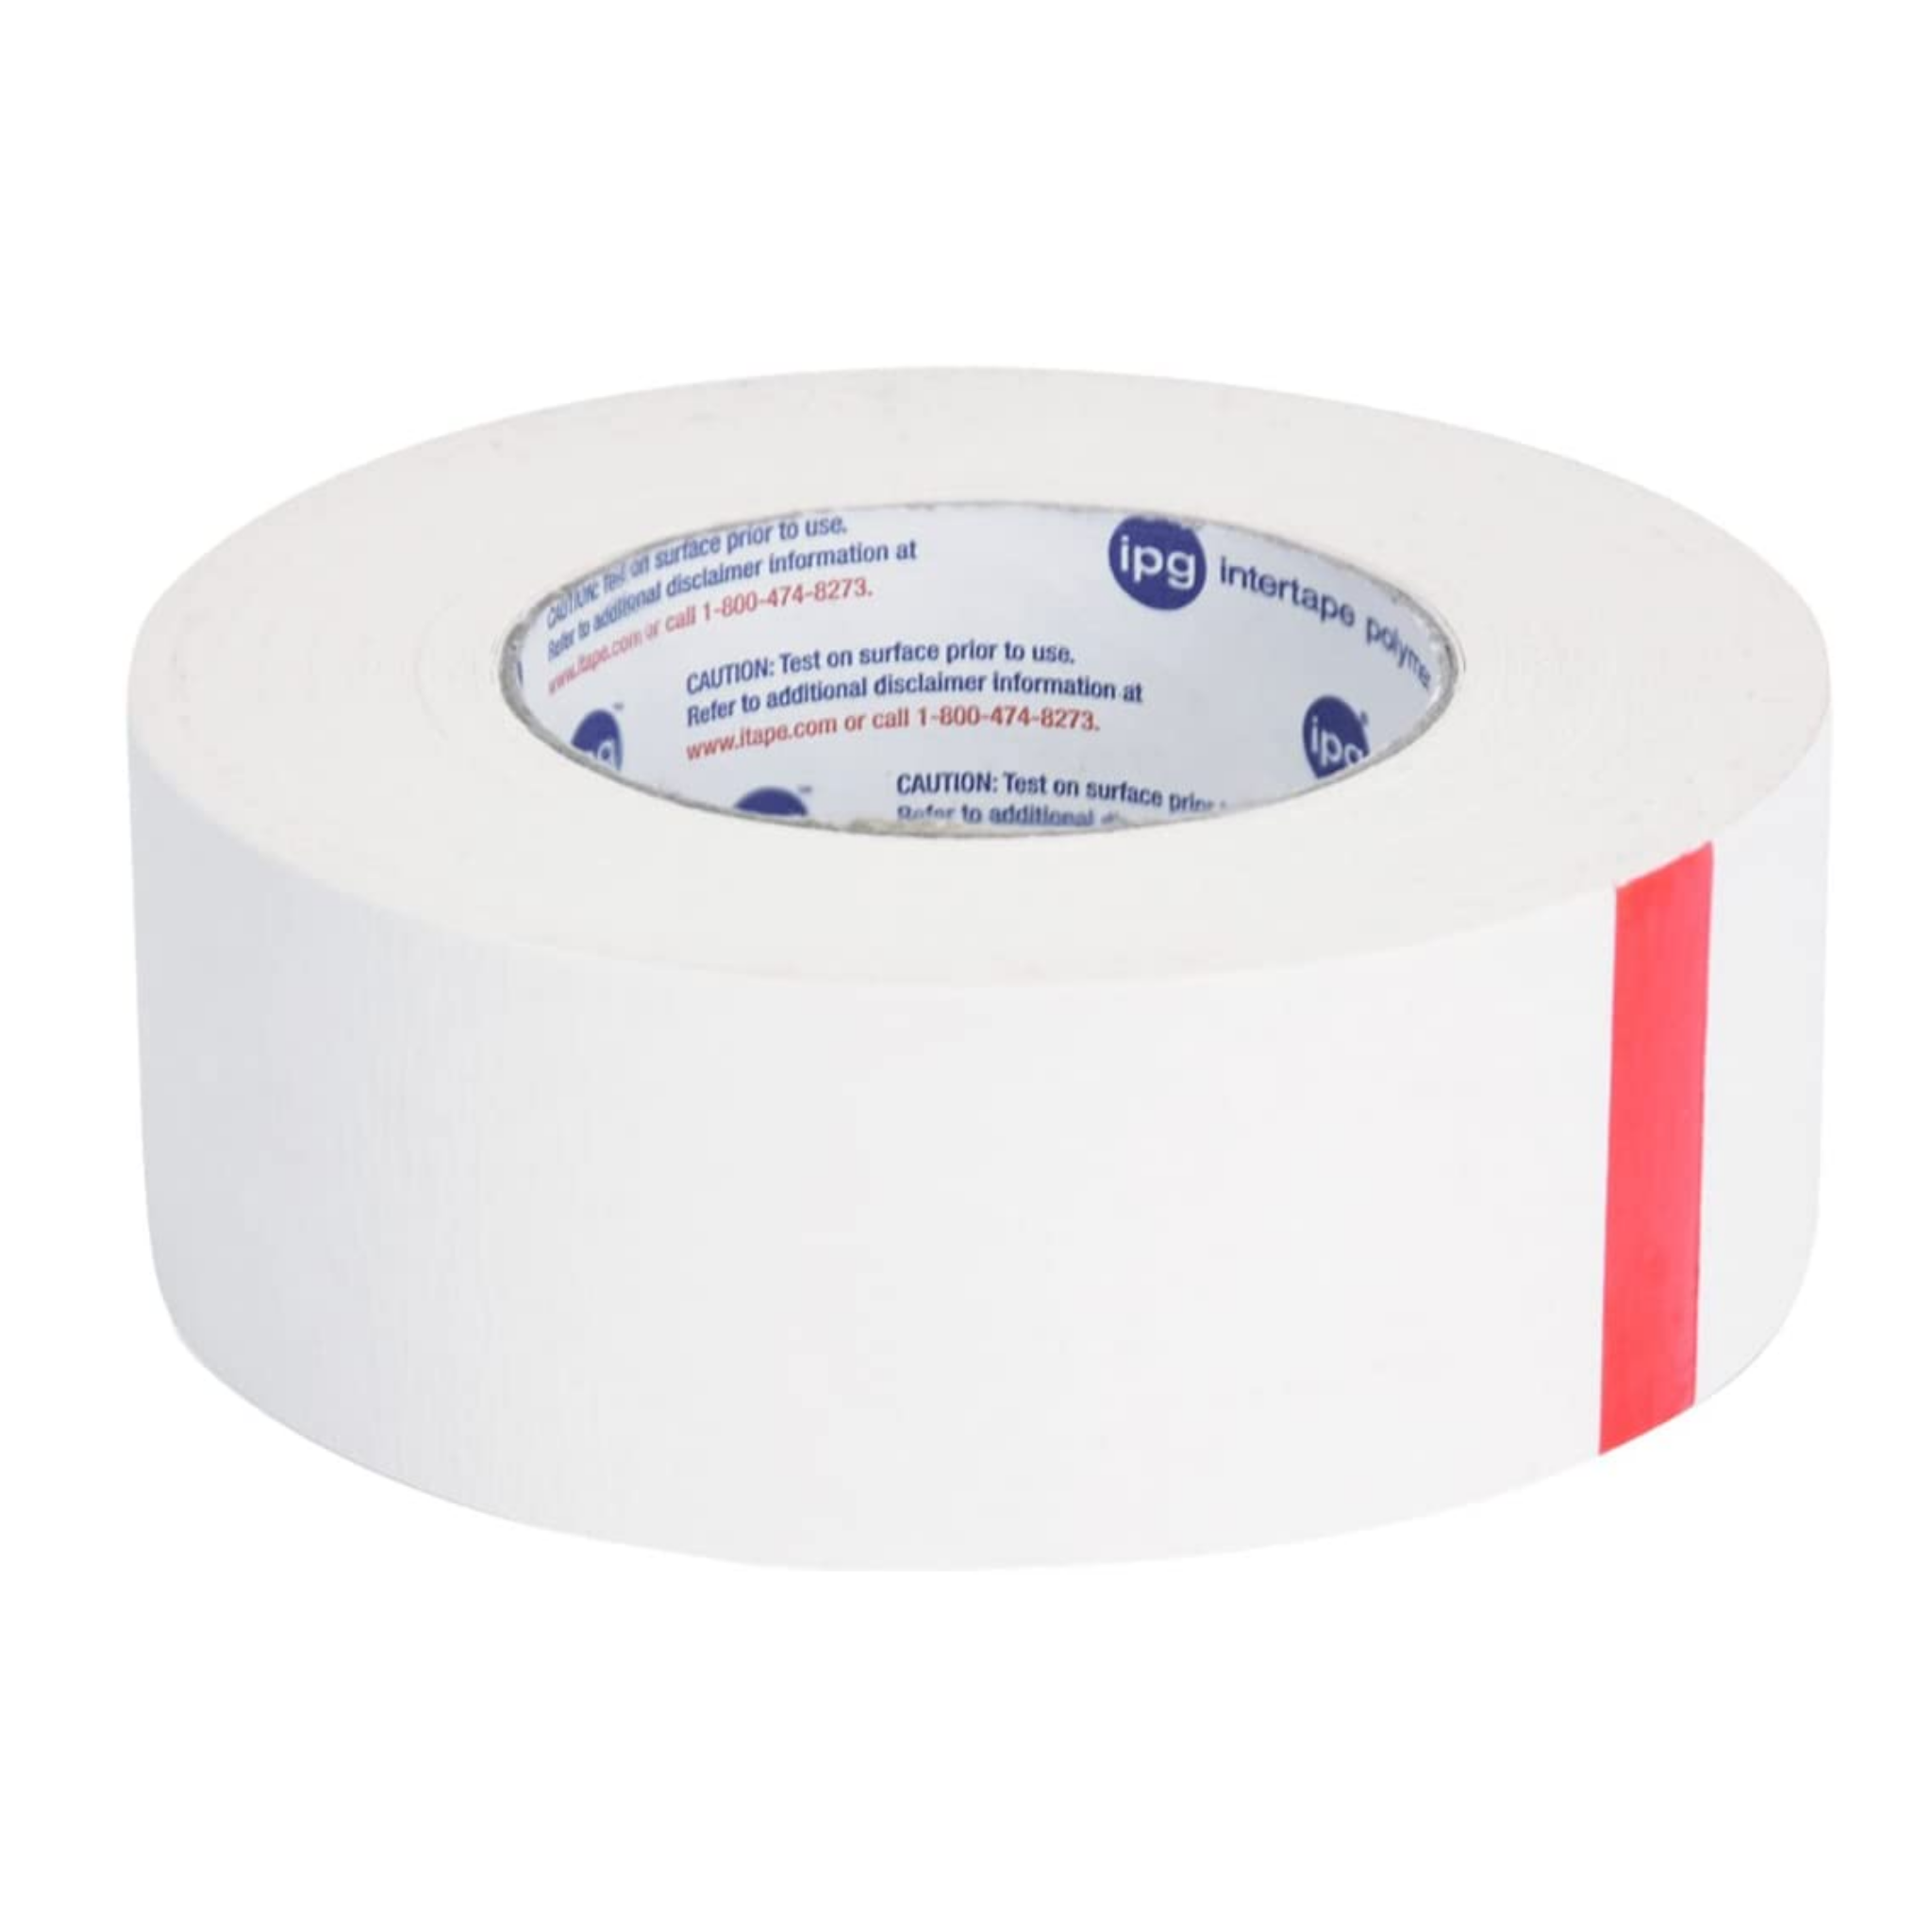
Double sided Tape
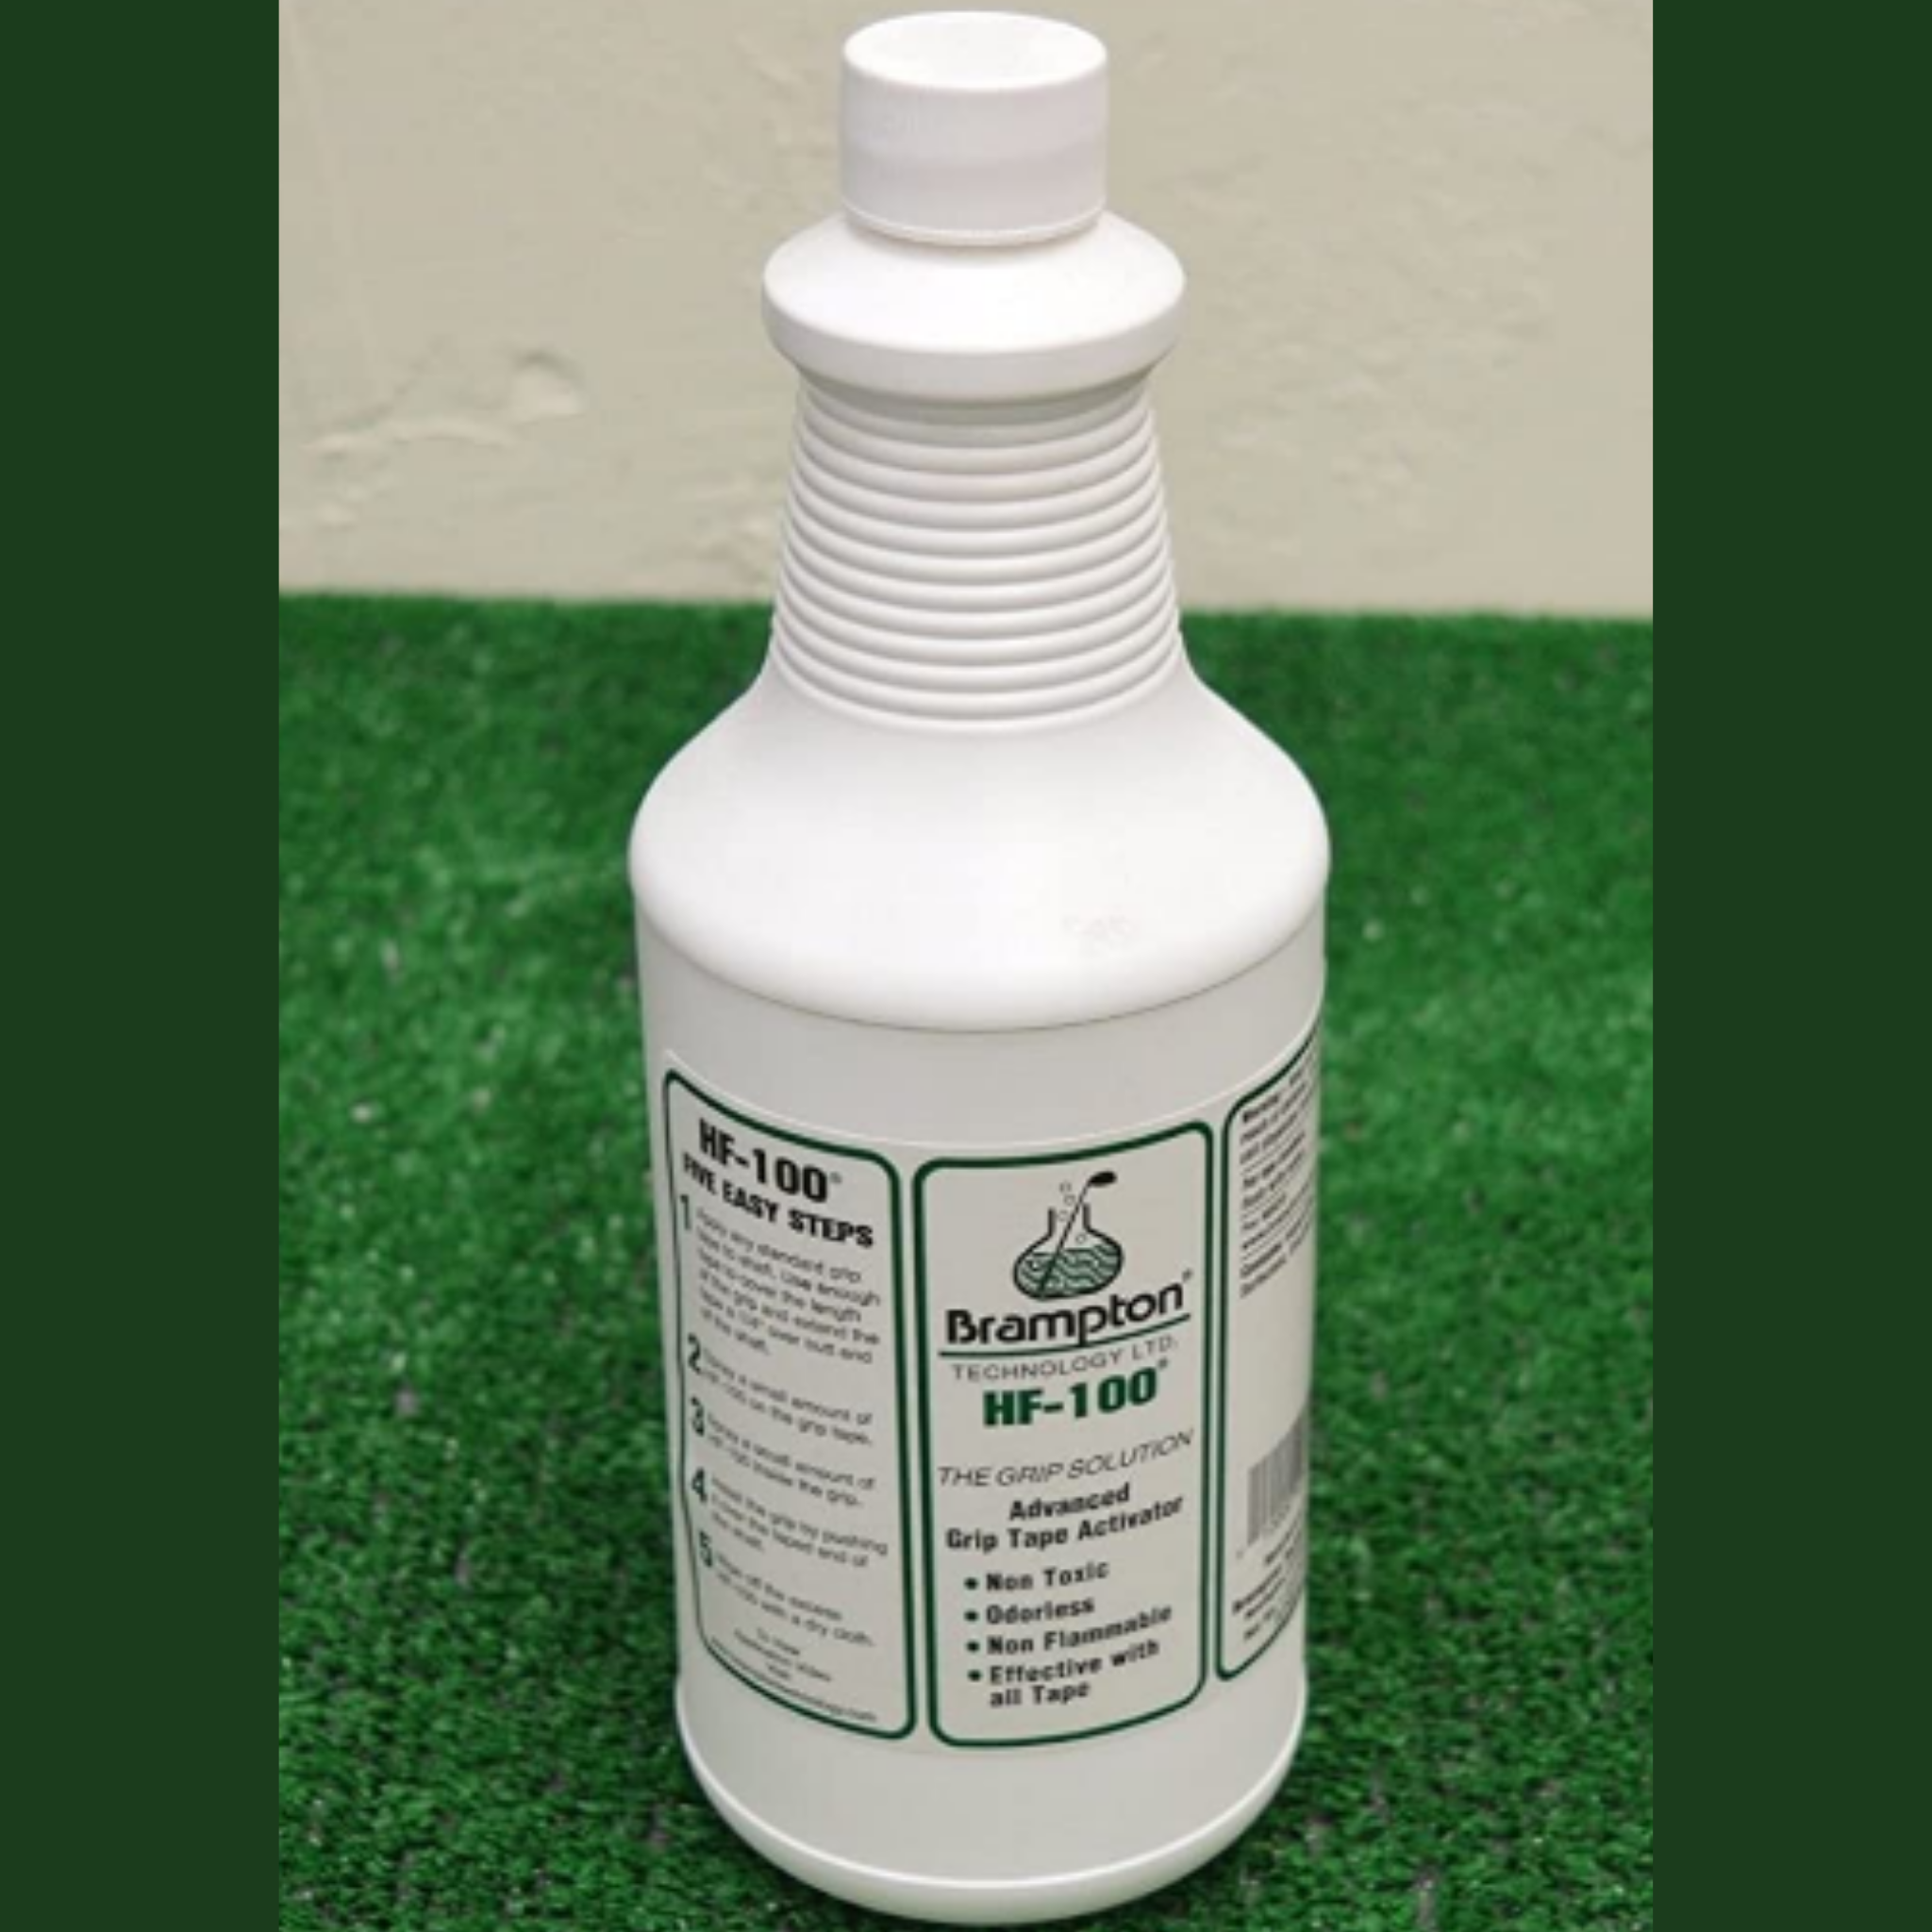
Grip Solution
Utility Knife
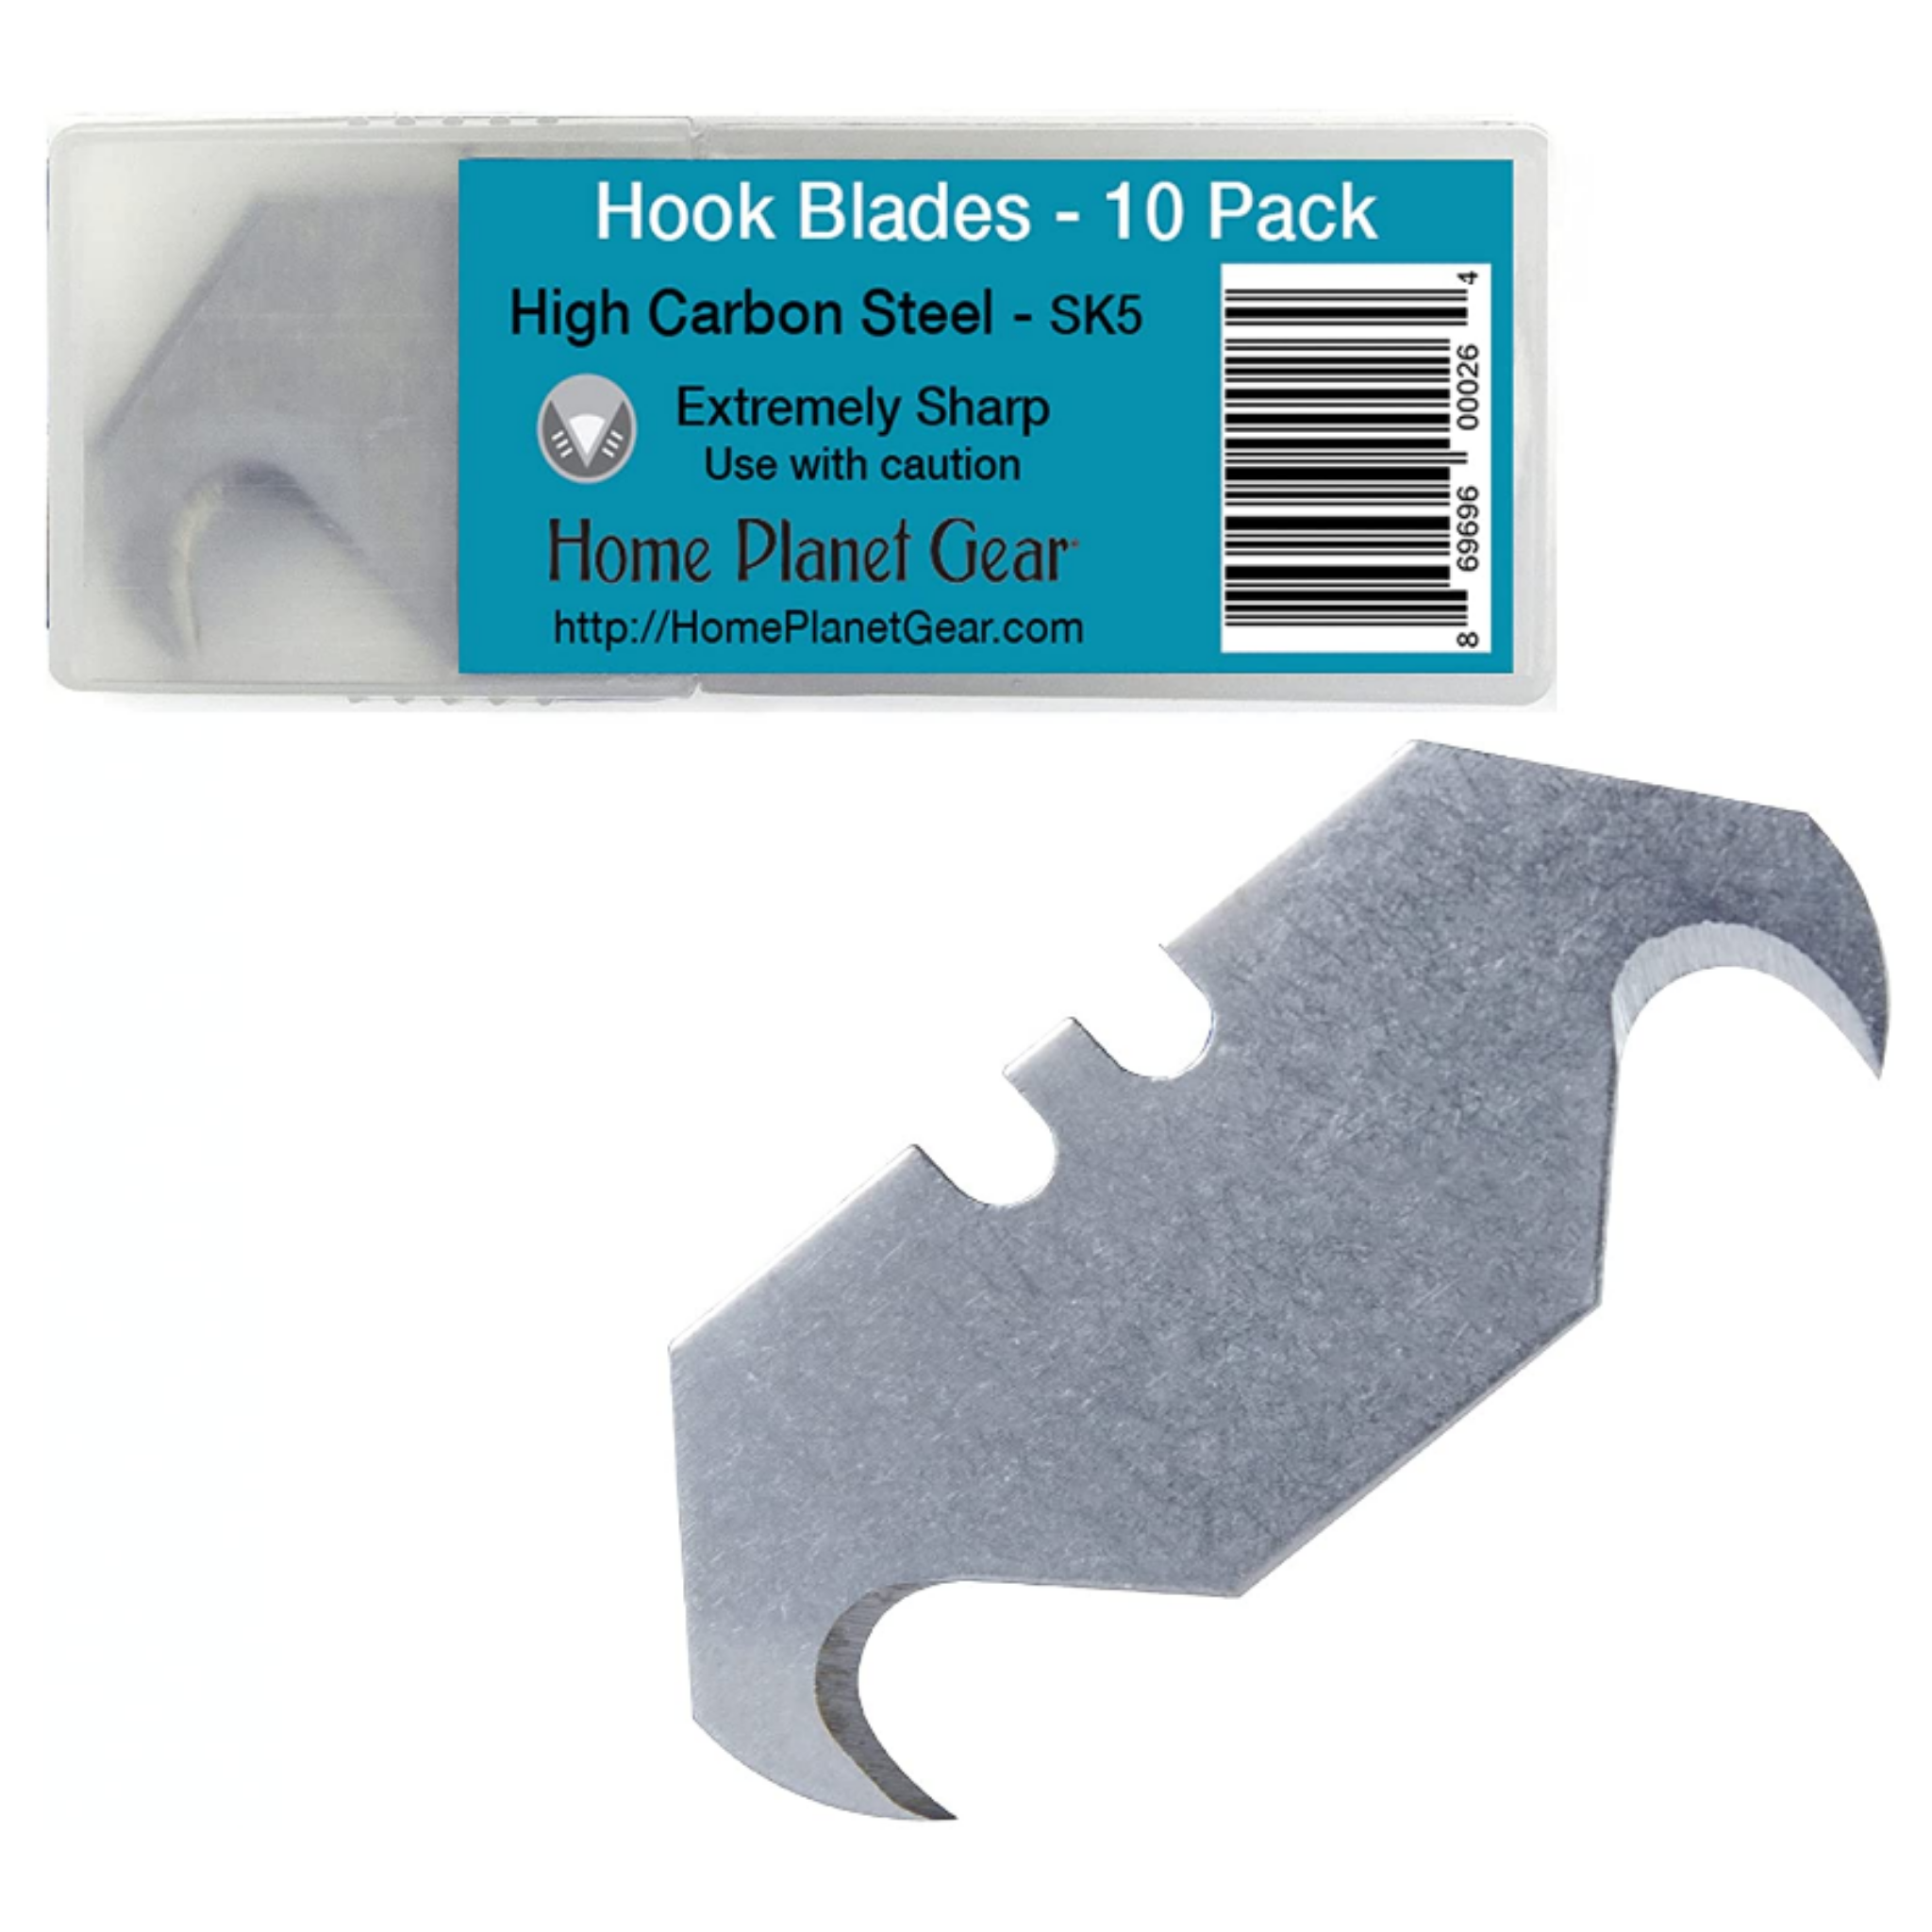
Hook Blades